在本章中,我們將討論VueJS中可用的轉換和動畫功能。
Transition
當HTML元素在DOM中添加/更新時,VueJS提供了各種方法來將轉換應用於HTML元素。VueJS有一個內置的轉換組件,需要包裝在元素周圍,而元素需要轉換。
Syntax
<transition name = "nameoftransition">
   <div></div>
</transition>
讓我們舉一個例子來理解轉換的工作。
Example
<html>
   <head>
      <title>VueJs Instance</title>
      <script type = "text/javascript" src = "js/vue.js"></script>
   </head>
   <body>
      <style>
         .fade-enter-active, .fade-leave-active {
            transition: opacity 2s
         }
         .fade-enter, .fade-leave-to /* .fade-leave-active below version 2.1.8 */ {
            opacity: 0
         }
      </style>
      <div id = "databinding">
         <button v-on:click = "show = !show">Click Me</button>
         <transition name = "fade">
            <p v-show = "show" v-bind:style = "styleobj">Animation Example</p>
         </transition>
      </div>
      <script type = "text/javascript">
         var vm = new Vue({
            el: '#databinding',
            data: {
               show:true,
               styleobj :{
                  fontSize:'30px',
                  color:'red'
               }
            },
            methods : {
            }
         });
      </script>
   </body>
</html>
有一個名爲clickme created的按鈕,我們可以使用它將變量show的值更改爲true到false,反之亦然。有一個p標記僅當變量爲真時才顯示文本元素。我們已經用轉換元素包裝了p標記,如下代碼所示。
<transition name = "fade">
   <p v-show = "show" v-bind:style = "styleobj">Animation Example</p>
</transition>
轉換的名稱是淡入。VueJS提供了一些用於轉換的標準類,這些類的前綴是轉換的名稱。
下面是一些轉換的標準類−
v-enter−在更新/添加元素之前,首先調用該類。它是起始狀態。
v-enter-active−此類用於定義進入過渡階段的延遲、持續時間和緩和曲線。這是整個的活動狀態,類在整個進入階段都可用。
v-leave−在觸發離開轉換時添加,刪除。
在離開階段應用v-leave-active&minus。轉換完成時將刪除它。這個類用於在離開階段應用延遲、持續時間和緩和曲線。
上面的每個類都將以轉換的名稱作爲前綴。我們將轉換命名爲fade,因此類的名稱變爲。fade\u enter,.fade\u enter\u active,.fade\u leave,.fade\u leave\u active。
它們在下面的代碼中定義。
<style>
   .fade-enter-active, .fade-leave-active {
      transition: opacity 2s
   }
   .fade-enter, .fade-leave-to /* .fade-leave-active below version 2.1.8 */ {
      opacity: 0
   }
</style>
.fade_enter_active和.fade_leave_active一起定義,並在開始和離開階段應用轉換。不透明度屬性在2秒內更改爲0。
持續時間在.fade_enter_active和.fade_leave_active中定義。最後階段在.fade_enter、.fade_leave_to中定義。
瀏覽器中的顯示如下。
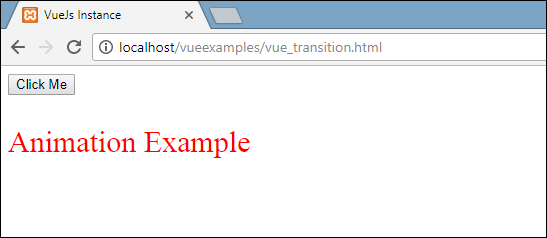
點擊按鈕,文本將在兩秒鐘內消失。
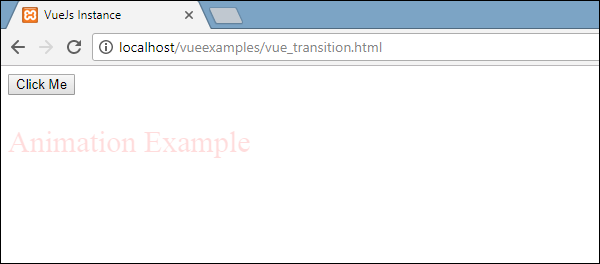
兩秒鐘後,文本將完全消失。
讓我們考慮另一個例子,其中有一個圖像,單擊按鈕時它在x軸上移動。
Example
<html>
   <head>
      <title>VueJs Instance</title>
      <script type = "text/javascript" src = "js/vue.js"></script>
   </head>
   <body>
      <style>
         .shiftx-enter-active, .shiftx-leave-active {
            transition: all 2s ease-in-out;
         }
         .shiftx-enter, .shiftx-leave-to /* .fade-leave-active below version 2.1.8 */ {
            transform :  translateX(100px);
         }
      </style>
      <div id = "databinding">
         <button v-on:click = "show = !show">Click Me</button>
         <transition name = "shiftx">
            <p v-show = "show">
               <img src = "images/img.jpg" style = "width:100px;height:100px;" />
            </p>
         </transition>
      </div>
      <script type = "text/javascript">
         var vm = new Vue({
            el: '#databinding',
            data: {
               show:true
            },
            methods : {
            }
         });
      </script>
   </body>
</html>
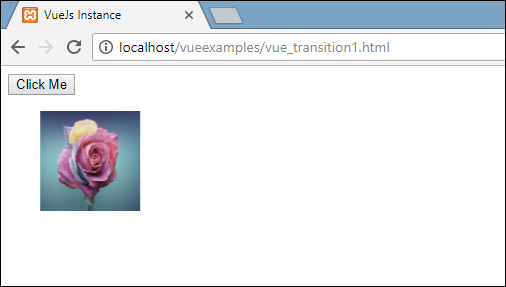
轉換的名稱是shiftx。transform屬性用於使用以下代碼將x軸上的圖像移動100px。
<style>
   .shiftx-enter-active, .shiftx-leave-active {
      transition: all 2s ease-in-out;
   }
   .shiftx-enter, .shiftx-leave-to /* .fade-leave-active below version 2.1.8 */ {
      transform :  translateX(100px);
   }
</style>
以下是輸出。
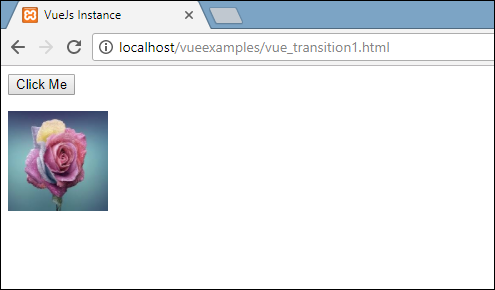
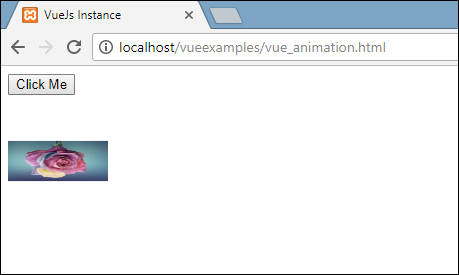
點擊按鈕,圖像將向右移動100px,如下圖所示。
Animation
動畫的應用方式與轉換的應用方式相同。動畫也有需要聲明才能產生效果的類。
讓我們舉一個例子來看看動畫是如何工作的。
Example
<html>
   <head>
      <title>VueJs Instance</title>
      <script type = "text/javascript" src = "js/vue.js"></script>
   </head>
   <body>
      <style>
         .shiftx-enter-active {
            animation: shift-in 2s;
         }
         .shiftx-leave-active {
            animation: shift-in 2s reverse;
         }
         @keyframes shift-in {
            0%   {transform:rotateX(0deg);}
            25%  {transform:rotateX(90deg);}
            50%  {transform:rotateX(120deg);}
            75%  {transform:rotateX(180deg);}
            100% {transform:rotateX(360deg);}
         }
      </style>
      <div id = "databinding">
         <button v-on:click = "show = !show">Click Me</button>
         <transition name = "shiftx">
            <p v-show = "show">
               <img src = "images/img.jpg" style = "width:100px;height:100px;" />
            </p>
         </transition>
      </div>
      <script type = "text/javascript">
         var vm = new Vue({
            el: '#databinding',
            data: {
               show:true
            },
            methods : {
            }
         });
      </script>
   </body>
</html>
要應用動畫,有與transition相同的類。在上面的代碼中,我們有一個包含在p標記中的圖像,如下面的代碼所示。
<transition name = "shiftx">
   <p v-show = "show"><img src = "images/img.jpg" style = "width:100px;height:100px;" /></p>
</transition>
轉換的名稱是shiftx。應用的類如下所示;
<style>
   .shiftx-enter-active {
      animation: shift-in 2s;
   }
   .shiftx-leave-active {
      animation: shift-in 2s reverse;
   }
   @keyframes shift-in {
      0%   {transform:rotateX(0deg);}
      25%  {transform:rotateX(90deg);}
      50%  {transform:rotateX(120deg);}
      75%  {transform:rotateX(180deg);}
      100% {transform:rotateX(360deg);}
   }
</style>
類的前綴是轉換名稱,即shiftx enter active和.shiftx leave active。動畫由0%到100%的關鍵幀定義。在每個關鍵幀處都定義了一個變換,如下代碼所示。
@keyframes shift-in {
   0%   {transform:rotateX(0deg);}
   25%  {transform:rotateX(90deg);}
   50%  {transform:rotateX(120deg);}
   75%  {transform:rotateX(180deg);}
   100% {transform:rotateX(360deg);}
}
以下是輸出。

單擊該按鈕時,它將從0旋轉到360度並消失。
Custom Transition Classes
VueJS提供了自定義類的列表,這些類可以作爲屬性添加到轉換元素中。
- enter-class
- enter-active-class
- leave-class
- leave-active-class
當我們想要使用外部CSS庫(如animate.CSS)時,自定義類基本上就發揮了作用。
Example
<html>
   <head>
      <link href = "https://cdn.jsdelivr.net/npm/animate.css@3.5.1" rel = "stylesheet" type = "text/css">
      <script type = "text/javascript" src = "js/vue.js"></script>
   </head>
   <body>
      <div id = "animate" style = "text-align:center">
         <button @click = "show = !show"><span style = "font-size:25px;">Animate</span></button>
         <transition
            name = "custom-classes-transition"
            enter-active-class = "animated swing"
            leave-active-class = "animated bounceIn">
            <p v-if = "show"><span style = "font-size:25px;">Example</span></p>
         </transition>
      </div>
      <script type = "text/javascript">
         var vm =  new Vue({
            el: '#animate',
            data: {
               show: true
            }
         });
      </script>
   </body>
</html>
Output

Output

Output
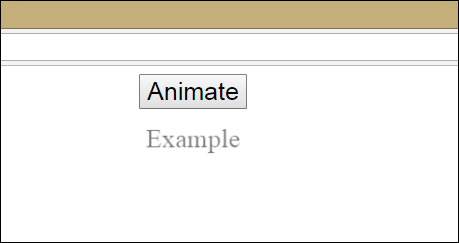
上面的代碼中應用了兩個動畫。一個輸入active class=「animated swing」,另一個輸入active class=「animated bounceIn」。我們正在使用自定義動畫類從第三方庫應用動畫。
Explicit Transition Duration
我們可以使用VueJS在元素上應用轉換和動畫。Vue等待transionend和animationend事件檢測動畫或轉換是否完成。
有時過渡會導致延遲。在這種情況下,我們可以如下顯式地應用持續時間。
<transition :duration = "1000"></transition>
<transition :duration = "{ enter: 500, leave: 800 }">...</transition>
我們可以將duration屬性與轉換元素上的:一起使用,如上圖所示。如果需要分別指定進出時間,可以按照上面的代碼進行。
JavaScript Hooks
轉換類可以作爲使用JavaScript事件的方法調用。讓我們考慮一個例子,以便更好地理解。
Example
<html>
   <head>
      <title>VueJs Instance</title>
      <script type = "text/javascript" src = "js/vue.js"></script>
   </head>
   <body>
      <script src = "https://cdnjs.cloudflare.com/ajax/libs/velocity/1.2.3/velocity.min.js"></script>
      <div id = "example-4">
         <button @click = "show = !show">
            <span style = "font-size:25px;">Toggle</span>
         </button>
         <transition  v-on:before-enter = "beforeEnter"
            v-on:enter = "enter"
            v-on:leave = "leave"
            v-bind:css = "false">
            <p v-if = "show" style = "font-size:25px;">Animation Example with velocity</p>
         </transition>
      </div>
      <script type = "text/javascript">
         var vm = new Vue({
            el: '#example-4',
            data: {
               show: false
            },
            methods: {
               beforeEnter: function (el) {
                  el.style.opacity = 0
               },
               enter: function (el, done) {
                  Velocity(el, { opacity: 1, fontSize: '25px' }, { duration: 1000 })
                  Velocity(el, { fontSize: '10px' }, { complete: done })
               },
               leave: function (el, done) {
                  Velocity(el, { translateX: '15px', rotateZ: '50deg' }, { duration: 1500 })
                  Velocity(el, { rotateZ: '100deg' }, { loop: 2 })
                  Velocity(el, {
                     rotateZ: '45deg',
                     translateY: '30px',
                     translateX: '30px',
                     opacity: 0
                  }, { complete: done })
               }
            }
         });
      </script>
   </body>
</html>
Output
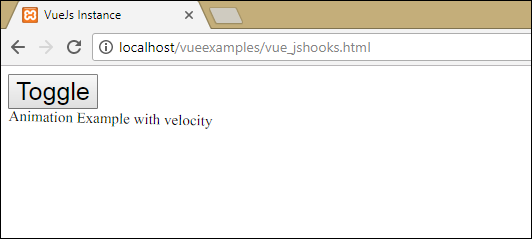
In the above example, we are performing animation using js methods on the transition element.
The methods on transition are applied as follows −
<transition  v-on:before-enter = "beforeEnter"
   v-on:enter = "enter"
   v-on:leave = "leave"
   v-bind:css = "false">
   <p v-if = "show" style = "font-size:25px;">Animation Example with velocity</p>
</transition>
There is a prefix added v-on and the name of the event to which the method is called. The methods are defined in the Vue instance as follows −
methods: {
   beforeEnter: function (el) {
      el.style.opacity = 0
   },
   enter: function (el, done) {
      Velocity(el, { opacity: 1, fontSize: '25px' }, { duration: 1000 })
      Velocity(el, { fontSize: '10px' }, { complete: done })
   },
   leave: function (el, done) {
      Velocity(el, { translateX: '15px', rotateZ: '50deg' }, { duration: 1500 })
      Velocity(el, { rotateZ: '100deg' }, { loop: 2 })
      Velocity(el, {
         rotateZ: '45deg',
         translateY: '30px',
         translateX: '30px',
         opacity: 0
      }, { complete: done })
   }
}
The required transition is applied in each of these methods. There is an opacity animation applied on the click of the button and also when the animation is done. Third party library is used for animation.
There is a property added on transition v-bind:css = "false", which is done so that Vue understands it is a JavaScript transition.
Transition at the Initial Render
爲了在開始時添加動畫,我們需要向轉換元素添加'appear'屬性。
讓我們看一個例子來更好地理解它。
Example
<html>
   <head>
      <link href = "https://cdn.jsdelivr.net/npm/animate.css@3.5.1" rel = "stylesheet" type = "text/css">
      <script type = "text/javascript" src = "js/vue.js"></script>
   </head>
   <body>
      <div id = "animate" style = "text-align:center">
         <transition
            appear
            appear-class = "custom-appear-class"
            appear-active-class = "animated bounceIn">
            <h1>BounceIn - Animation Example</h1>
         </transition>
         <transition
            appear
            appear-class = "custom-appear-class"
            appear-active-class = "animated swing">
            <h1>Swing - Animation Example</h1>
         </transition>
         <transition
            appear
            appear-class = "custom-appear-class"
            appear-active-class = "animated rubberBand">
            <h1>RubberBand - Animation Example</h1>
         </transition>
      </div>
      <script type = "text/javascript">
         var vm =  new Vue({
            el: '#animate',
            data: {
               show: true
            }
         });
      </script>
   </body>
</html>
在上面的例子中,我們使用了animate.css庫中的三個不同動畫。我們已經在轉換元素中添加了appear。
執行上述代碼時,瀏覽器中的輸出如下。

Animation on Components
我們可以使用以下代碼包裝組件的轉換。我們在這裡使用了動態組件。