安裝VueJS有很多方法。前面將討論如何進行安裝的一些方法。
Using the <script> tag directly in HTML file
<html>
   <head>
      <script type = "text/javascript" src = "vue.min.js"></script>
   </head>
   <body></body>
</html>
請訪問vuejs的主頁https://vue js.org/v2/guide/installation.html,並根據需要下載vue.js。有兩個版本可供使用-生產版本和開發版本。開發版本沒有最小化,而生產版本最小化,如下面的螢幕截圖所示。在項目開發期間,開發版本將幫助處理警告和調試模式。

Using CDN
我們還可以開始使用CDN庫中的VueJS文件。連結https://unpkg.com/vue將提供最新版本的VueJS。/2.4.0/vue.js)。
如果需要的話,我們可以在末尾託管文件並開始VueJS開發。
Using NPM
對於使用VueJS的大型應用程式,建議使用npm包安裝。它配有Browserify和Webpack以及其他必要的工具,有助於開發。下面是使用npm安裝的命令。
npm install vue
Using CLI Command Line
VueJS還提供CLI來安裝vue並開始伺服器激活。要使用CLI安裝,我們需要安裝CLI,這需要使用以下命令完成。
npm install --global vue-cli
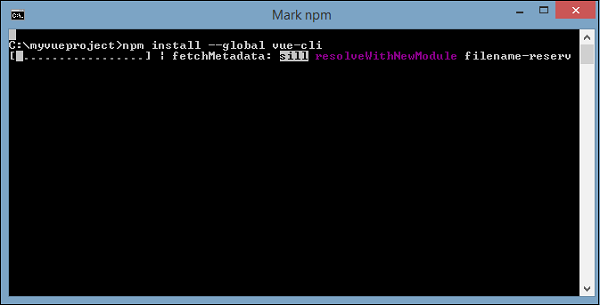
Once done, it shows the CLI version for VueJS. It takes a few minutes for the installation.
+ vue-cli@2.8.2
added 965 packages in 355.414s
Following is the command to create the project using Webpack.
vue init webpack myproject
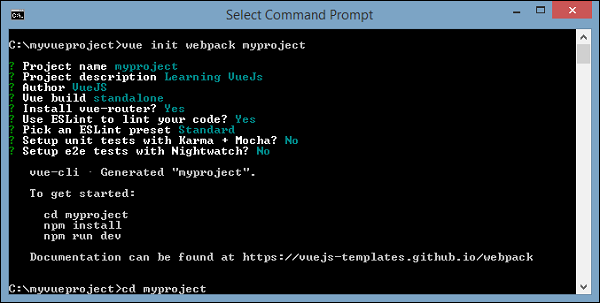
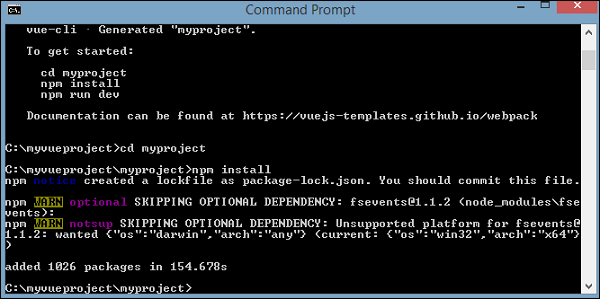
To get started, use the following command.
cd myproject
npm install
npm run dev
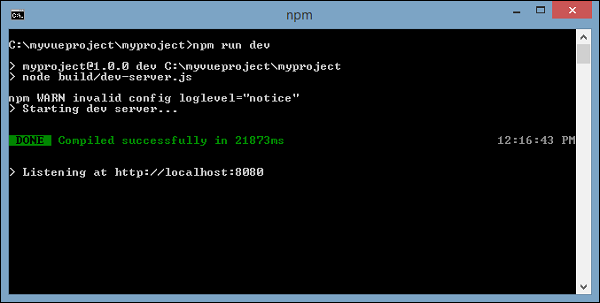
Once we execute npm run dev, it starts the server and provides the url for display to be seen in the browser which is as shown in the following screenshot.
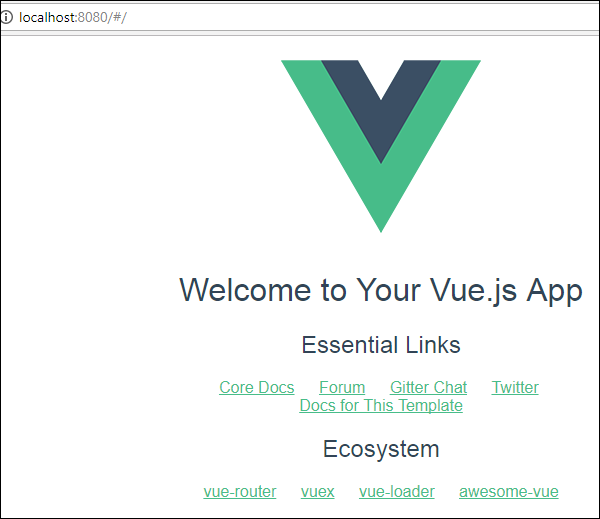
The project structure using CLI looks like the following.