v-on是添加到DOM元素的屬性,用於監聽VueJS中的事件。
Click Event
Example
<html>
   <head>
      <title>VueJs Instance</title>
      <script type = "text/javascript" src = "js/vue.js"></script>
   </head>
   <body>
      <div id = "databinding">
         <button v-on:click = "displaynumbers">Click ME</button>
         <h2> Add Number 100 + 200 = {{total}}</h2>
      </div>
      <script type = "text/javascript">
         var vm = new Vue({
            el: '#databinding',
            data: {
               num1: 100,
               num2 : 200,
               total : ''
            },
            methods : {
               displaynumbers : function(event) {
                  console.log(event);
                  return this.total =  this.num1+ this.num2;
               }
            },
         });
      </script>
   </body>
</html>
Output
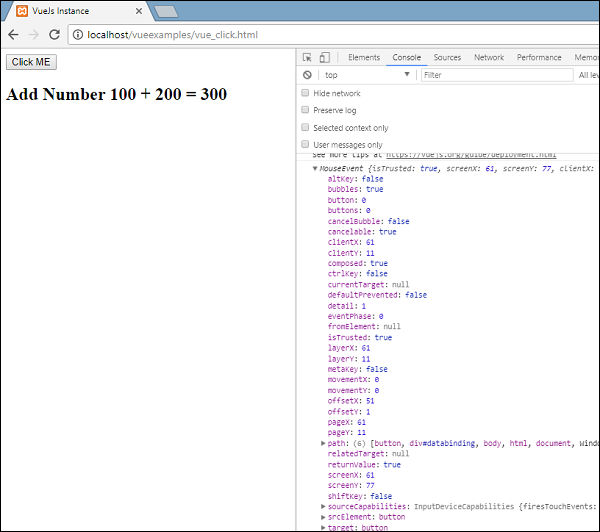
下面的代碼用於爲DOM元素分配一個click事件。
<button v-on:click = "displaynumbers">Click ME</button>
有一個v-on的簡寫,這意味著我們也可以將事件稱爲-;
<button @click = "displaynumbers">Click ME</button>
單擊按鈕時,它將調用方法「displaynumbers」,該方法接受事件,我們已在瀏覽器中對其進行了如上所示的安慰。
我們現在再檢查一個活動滑鼠懸停滑鼠懸停。
Example
<html>
   <head>
      <title>VueJs Instance</title>
      <script type = "text/javascript" src = "js/vue.js"></script>
   </head>
   <body>
      <div id = "databinding">
         <div v-bind:style = "styleobj" v-on:mouseover = "changebgcolor" v-on:mouseout = "originalcolor"></div>
      </div>
      <script type = "text/javascript">
         var vm = new Vue({
            el: '#databinding',
            data: {
               num1: 100,
               num2 : 200,
               total : '',
               styleobj : {
                  width:"100px",
                  height:"100px",
                  backgroundColor:"red"
               }
            },
            methods : {
               changebgcolor : function() {
                  this.styleobj.backgroundColor = "green";
               },
               originalcolor : function() {
                  this.styleobj.backgroundColor = "red";
               }
            },
         });
      </script>
   </body>
</html>
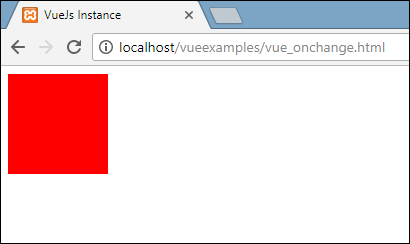
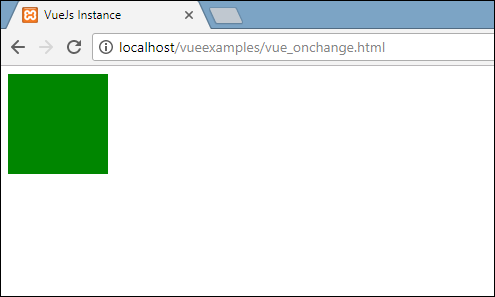
在上面的例子中,我們創建了一個寬度和高度爲100px的div。它的背景色是紅色。在滑鼠懸停時,我們將顏色改爲綠色,在滑鼠懸停時,我們將顏色改回紅色。
因此,在mouseover期間,一個方法被稱爲changebgcolor,一旦我們將滑鼠移出div,一個方法就被稱爲originalcolor。
這是按以下方式進行的&負;
<div v-bind:style = "styleobj" v-on:mouseover = "changebgcolor" v-on:mouseout = "originalcolor"></div>
兩個事件mouseover和mouseout被分配給div,如上圖所示。我們已經創建了一個styleobj變量,並給出了分配給div所需的樣式。使用v-bind:style=「styleobj」將相同的變量綁定到div
在changebgcolor中,我們使用以下代碼將顏色更改爲綠色。
changebgcolor : function() {
   this.styleobj.backgroundColor = "green";
}
使用stylobj變量,我們將顏色更改爲綠色。
類似地,下面的代碼用於將其更改回原始顏色。
originalcolor : function() {
   this.styleobj.backgroundColor = "red";
}
這就是我們在瀏覽器中看到的。
滑鼠懸停時,顏色將變爲綠色,如下圖所示。
Event Modifiers
Vue在v-on屬性上有可用的事件修飾符。以下是可用的修飾符−
.once
只允許事件執行一次。
Syntax
<button v-on:click.once = "buttonclicked">Click Once</button>
我們需要在調用修飾符時添加點運算符,如上面的語法所示。讓我們在一個例子中使用它並理解once修飾符的工作原理。
Example
<html>
   <head>
      <title>VueJs Instance</title>
      <script type = "text/javascript" src = "js/vue.js"></script>
   </head>
   <body>
      <div id = "databinding">
         <button v-on:click.once = "buttonclickedonce" v-bind:style = "styleobj">Click Once</button>
         Output:{{clicknum}}
         <br/><br/>
         <button v-on:click = "buttonclicked"  v-bind:style = "styleobj">Click Me</button>
         Output:{{clicknum1}}
      </div>
      <script type = "text/javascript">
         var vm = new Vue({
            el: '#databinding',
            data: {
               clicknum : 0,
               clicknum1 :0,
               styleobj: {
                  backgroundColor: '#2196F3!important',
                  cursor: 'pointer',
                  padding: '8px 16px',
                  verticalAlign: 'middle',
               }
            },
            methods : {
               buttonclickedonce : function() {
                  this.clicknum++;
               },
               buttonclicked : function() {
                  this.clicknum1++;
               }
            }
         });
      </script>
   </body>
</html>
Output
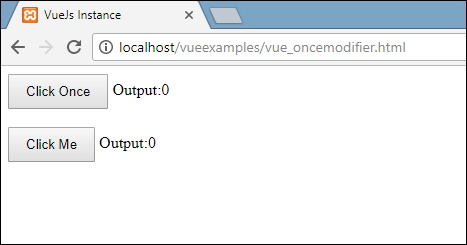
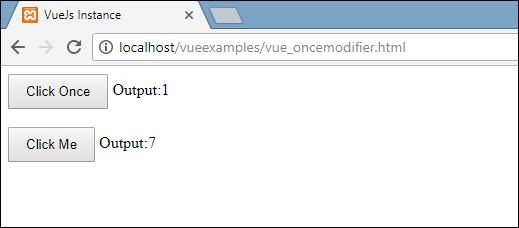
在上面的例子中,我們創建了兩個Buttons。帶有「單擊一次」標籤的按鈕添加了「一次」修改器,而另一個按鈕沒有任何修改器。這就是按鈕的定義方式。
<button v-on:click.once = "buttonclickedonce" v-bind:style = "styleobj">Click Once</button>
<button v-on:click = "buttonclicked"  v-bind:style = "styleobj">Click Me</button>
第一個按鈕調用方法「buttonclickedonce」,第二個按鈕調用方法「buttonclicked」。
buttonclickedonce : function() {
   this.clicknum++;
},
buttonclicked : function() {
   this.clicknum1++;
}
clicknum和clicknum1中定義了兩個變量。單擊按鈕時,兩者都將遞增。兩個變量都初始化爲0,顯示在上面的輸出中。
單擊第一個按鈕時,變量clicknum增加1。在第二次單擊時,數字不會遞增,因爲修改器阻止它執行或執行在單擊按鈕時指定的任何操作項。
單擊第二個按鈕,執行相同的操作,即變量遞增。每次單擊時,值都會遞增並顯示。
下面是我們在瀏覽器中得到的輸出。
.prevent
語法
<a href = "http://www.google.com" v-on:click.prevent = "clickme">Click Me</a>
示例
<html>
   <head>
      <title>VueJs Instance</title>
      <script type = "text/javascript" src = "js/vue.js"></script>
   </head>
   <body>
      <div id = "databinding">
         <a href = "http://www.google.com" v-on:click = "clickme" target = "_blank" v-bind:style = "styleobj">Click Me</a>
      </div>
      <script type = "text/javascript">
         var vm = new Vue({
            el: '#databinding',
            data: {
               clicknum : 0,
               clicknum1 :0,
               styleobj: {
                  color: '#4CAF50',
                  marginLeft: '20px',
                  fontSize: '30px'
               }
            },
            methods : {
               clickme : function() {
                  alert("Anchor tag is clicked");
               }
            }
         });
      </script>
   </body>
</html>
輸出
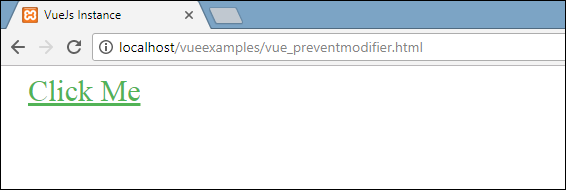
如果我們單擊clickme連結,它將發送一個警報,顯示爲「Anchor tag is clicked」(錨標記已單擊),並將在新選項卡中打開連結https://www.google.comhttps://www.google.com,如以下螢幕截圖所示。

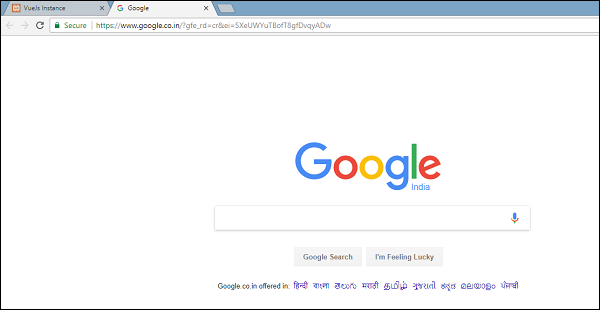
Now this works as a normal way, i.e. the link opens up as we want. In case we don』t want the link to open up, we need to add a modifier 『prevent』 to the event as shown in the following code.
<a href = "http://www.google.com" v-on:click.prevent = "clickme" target = "_blank" v-bind:style = "styleobj">Click Me</a>
Once added, if we click on the button, it will send an alert message and will not open the link anymore. The prevent modifier prevents the link from opening and only executes the method assigned to the tag.
示例
<html>
   <head>
      <title>VueJs Instance</title>
      <script type = "text/javascript" src = "js/vue.js"></script>
   </head>
   <body>
      <div id = "databinding">
         <a href = "http://www.google.com" v-on:click.prevent = "clickme" target = "_blank" v-bind:style = "styleobj">Click Me</a>
      </div>
      <script type = "text/javascript">
         var vm = new Vue({
            el: '#databinding',
            data: {
               clicknum : 0,
               clicknum1 :0,
               styleobj: {
                  color: '#4CAF50',
                  marginLeft: '20px',
                  fontSize: '30px'
               }
            },
            methods : {
               clickme : function() {
                  alert("Anchor tag is clicked");
               }
            }
         });
      </script>
   </body>
</html>
輸出

單擊連結時,它將顯示警報消息,不再打開url。
Event - Key Modifiers
VueJS提供了關鍵修飾符,基於這些修飾符,我們可以控制事件處理。假設我們有一個文本框,我們希望只在按回車鍵時調用該方法。我們可以向事件添加鍵修飾符,如下所示。
Syntax
<input type = "text" v-on:keyup.enter = "showinputvalue"/>
我們要應用於事件的鍵是V-on.eventname.keyname(如上所示)
我們可以使用多個鍵名。例如,V-on.keyup.ctrl.enter
Example
<html>
   <head>
      <title>VueJs Instance</title>
      <script type = "text/javascript" src = "js/vue.js"></script>
   </head>
   <body>
      <div id = "databinding">
         <input type = "text" v-on:keyup.enter = "showinputvalue" v-bind:style = "styleobj" placeholder = "Enter your name"/>
         <h3> {{name}}</h3>
      </div>
      <script type = "text/javascript">
         var vm = new Vue({
            el: '#databinding',
            data: {
               name:'',
               styleobj: {
                  width: "30%",
                  padding: "12px 20px",
                  margin: "8px 0",
                  boxSizing: "border-box"
               }
            },
            methods : {
               showinputvalue : function(event) {
                  this.name=event.target.value;
               }
            }
         });
      </script>
   </body>
</html>
Output

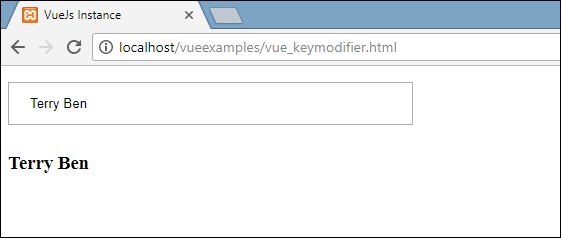
在文本框中鍵入內容,我們將看到它僅在按回車鍵時顯示。
Custom Events
父組件可以使用prop屬性將數據傳遞給其組件,但是,當子組件發生更改時,我們需要告訴父組件。爲此,我們可以使用自定義事件。
父組件可以使用v-on屬性監聽子組件事件。
Example
<html>
   <head>
      <title>VueJs Instance</title>
      <script type = "text/javascript" src = "js/vue.js"></script>
   </head>
   <body>
      <div id = "databinding">
         <div id = "counter-event-example">
            <p style = "font-size:25px;">Language displayed : <b>{{ languageclicked }}</b></p>
            <button-counter
            v-for = "(item, index) in languages"
            v-bind:item = "item"
            v-bind:index = "index"
            v-on:showlanguage = "languagedisp"></button-counter>
         </div>
      </div>
      <script type = "text/javascript">
         Vue.component('button-counter', {
            template: '<button v-on:click = "displayLanguage(item)"><span style = "font-size:25px;">{{ item }}</span></button>',
            data: function () {
               return {
                  counter: 0
               }
            },
            props:['item'],
            methods: {
               displayLanguage: function (lng) {
                  console.log(lng);
                  this.$emit('showlanguage', lng);
               }
            },
         });
         var vm = new Vue({
            el: '#databinding',
            data: {
               languageclicked: "",
               languages : ["Java", "PHP", "C++", "C", "Javascript", "C#", "Python", "HTML"]
            },
            methods: {
               languagedisp: function (a) {
                  this.languageclicked = a;
               }
            }
         })
      </script>
   </body>
</html>
Output

上面的代碼顯示父組件和子組件之間的數據傳輸。
使用以下代碼創建組件。
<button-counter
   v-for = "(item, index) in languages"
   v-bind:item = "item"
   v-bind:index = "index"
   v-on:showlanguage = "languagedisp">
</button-counter>
有一個v-for屬性,它將與languages數組一起循環。數組中有一個語言列表。我們需要將詳細信息發送給子組件。數組的值存儲在項和索引中。
v-bind:item = "item"
v-bind:index = "index"
要引用數組的值,我們需要首先將其綁定到變量,然後使用props屬性引用varaiable,如下所示。
Vue.component('button-counter', {
   template: '<button v-on:click = "displayLanguage(item)"><span style = "font-size:25px;">{{ item }}</span></button>',
   data: function () {
      return {
         counter: 0
      }
   },
   props:['item'],
   methods: {
      displayLanguage: function (lng) {
         console.log(lng);
         this.$emit('showlanguage', lng);
      }
   },
});
props屬性包含數組形式的項。我們也可以把指數稱爲負;
props:[『item』, 『index』]
還有一個事件添加到組件中,如下所示−
<button-counter
   v-for = "(item, index) in languages"
   v-bind:item = "item"
   v-bind:index = "index"
   v-on:showlanguage = "languagedisp">
</button-counter>
事件的名稱是showlanguage,它調用在Vue實例中定義的名爲languagedisp的方法。
在組件中,模板定義如下−
template: '<button v-on:click = "displayLanguage(item)"><span style = "font-size:25px;">{{ item }}</span></button>',
創建了一個按鈕。該按鈕將使用語言數組中的相同計數創建。單擊按鈕時,有一個名爲displayLanguage的方法,單擊的按鈕項作爲參數傳遞給函數。現在組件需要將單擊的元素髮送到父組件進行顯示,如下所示−
Vue.component('button-counter', {
   template: '<button v-on:click = "displayLanguage(item)"><span style = "font-size:25px;">{{ item }}</span></button>',
   data: function () {
      return {
         counter: 0
      }
   },
   props:['item'],
   methods: {
      displayLanguage: function (lng) {
         console.log(lng);
         this.$emit('showlanguage', lng);
      }
   },
});
方法displayLanguage調用this.$emit('showlanguage',lng)
$emit用於調用父組件方法。showlanguage方法是在v-on組件上給定的事件名。
<button-counter
   v-for = "(item, index) in languages"
   v-bind:item = "item"
   v-bind:index = "index"
   v-on:showlanguage = "languagedisp">
</button-counter>
我們正在傳遞一個參數,即單擊的語言名稱到主父Vue實例的方法,該方法定義如下。
var vm = new Vue({
   el: '#databinding',
   data: {
      languageclicked: "",
      languages : ["Java", "PHP", "C++", "C", "Javascript", "C#", "Python", "HTML"]
   },
   methods: {
      languagedisp: function (a) {
         this.languageclicked = a;
      }
   }
})
在這裡,emit觸發showlanguage,進而從Vue實例方法調用languagedisp。它將語言單擊值分配給變量languageclicked,並在瀏覽器中顯示,如下面的螢幕截圖所示。
<p style = "font-size:25px;">Language displayed : <b>{{ languageclicked }}</b></p>
下面是我們在瀏覽器中得到的輸出。